
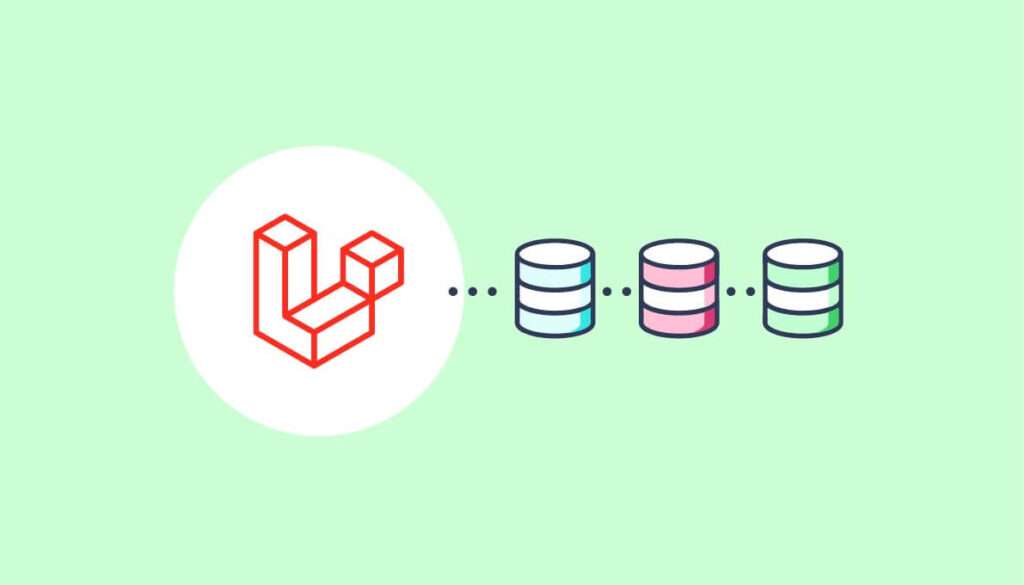
Laravel có nhiều tùy chọn để sử dụng các loại cơ sở dữ liệu khác nhau. Ví dụ: chúng ta có thể sử dụng SQLite, MYSQL, PostgreSQL, SQL Server, Laravel-OCI8 cho Cơ sở dữ liệu Oracle. Đôi khi, để tăng tốc ứng dụng hoặc đơn giản hóa ứng dụng cơ sở dữ liệu lớn, chúng ta cần sử dụng nhiều cơ sở dữ liệu cho một ứng dụng Laravel. Vì vậy, ở đây trong hướng dẫn này, chúng ta sẽ tìm hiểu về nó.

Để sử dụng Multiple Database trong Laravel, chúng ta cần tạo Database Configuration , set ENV Variables , tạo Migrations , Eloquent Model , Controller và Routes . Chỉ cần làm theo các bước được đưa ra dưới đây.
Bước 1 – Tạo cấu hình cho cơ sở dữ liệu trong Laravel
Ở đây chúng ta sẽ tạo cấu hình cho Cơ sở dữ liệu MYSQL. Bạn cần mở tệp database.php trong thư mục config. Bên trong mảng kết nối có khóa mysql theo mặc định cho cơ sở dữ liệu đầu tiên. Bạn chỉ cần tạo thêm một khóa mysql2 cho cơ sở dữ liệu thứ hai và dán mã bên dưới.
'mysql2' => [
    'driver' => 'mysql',
    'url' => env('DATABASE_URL'),
    'host' => env('DB_HOST2', '127.0.0.1'),
    'port' => env('DB_PORT2', '3306'),
    'database' => env('DB_DATABASE2', 'forge'),
    'username' => env('DB_USERNAME2', 'forge'),
    'password' => env('DB_PASSWORD2', ''),
    'unix_socket' => env('DB_SOCKET', ''),
    'charset' => 'utf8mb4',
    'collation' => 'utf8mb4_unicode_ci',
    'prefix' => '',
    'prefix_indexes' => true,
    'strict' => true,
    'engine' => null,
    'options' => extension_loaded('pdo_mysql') ? array_filter([
        PDO::MYSQL_ATTR_SSL_CA => env('MYSQL_ATTR_SSL_CA'),
    ]) : [],
],
Bước 2 – Đặt biến môi trường trong Laravel
Mở tệp .env và đặt thông tin xác thực cơ sở dữ liệu như được đưa ra dưới đây. Hãy nhớ rằng, DB_HOST2, DB_PORT2, DB_DATABASE2, DB_USERNAME2, DB_PASSWORD2 dành cho cơ sở dữ liệu thứ hai.
#First Database
DB_CONNECTION=mysql
DB_HOST=127.0.0.1
DB_PORT=3306
DB_DATABASE=laraveldb1
DB_USERNAME=root
DB_PASSWORD=

#Second Database
DB_HOST2=127.0.0.1
DB_PORT2=3306
DB_DATABASE2=laraveldb2
DB_USERNAME2=root
DB_PASSWORD2=
Bước 3 – Tạo Eloquent Model trong Laravel
Trước khi tạo models, chúng ta sẽ tạo hai bảng cơ sở dữ liệu mẫu.
In Database(laraveldb1) Create a table(Customers) with fields – id, customer_name, customer_email, created_at, updated_at, deleted_at.
In Database(laraveldb2) Create a table(Staff) with fields – id, staff_name, staff_email, created_at, updated_at, deleted_at.
Bên trong thư mục app\Models, tạo Tệp Customer.php
<?php

namespace App\Models;

use Illuminate\Database\Eloquent\Factories\HasFactory;
use Illuminate\Database\Eloquent\Model;

class Customer extends Model
{
    use HasFactory;

    protected $table = 'customers';

    protected $connection = 'mysql';
}
Tạo Tệp Staff.php
<?php

namespace App\Models;

use Illuminate\Database\Eloquent\Factories\HasFactory;
use Illuminate\Database\Eloquent\Model;

class Staff extends Model
{
    use HasFactory;

    protected $table = 'staff';

    protected $connection = 'mysql2';
}
Trong cả model Customer và Staff, chúng ta sử dụng thuộc tính mô hình $table để xác định tên bảng và $connection để xác định kết nối mà chúng tôi đã tạo ở Bước 1.
Bước 4 – Tạo Controller trong Laravel
Đầu tiên, bên trong thư mục app\Http\Controllers, tạo một tệp CustomerController.php
<?php

namespace App\Http\Controllers;

use App\Models\Customer;
use Illuminate\Http\Request;

class CustomerController extends Controller
{
    /**
     * Display a listing of the resource.
     *
     * @return \Illuminate\Http\Response
     */
    public function index()
    {
        //
    }

    /**
     * Show the form for creating a new resource.
     *
     * @return \Illuminate\Http\Response
     */
    public function create()
    {
        $customer = new Customer;
        $customer->customer_name = 'Customer 1';
        $customer->customer_email = 'customer1@example.com';

        if ($customer->save()) {
            return response()->json(['message' => 'Customer Added.']);
        }
    }

    /**
     * Store a newly created resource in storage.
     *
     * @param  \Illuminate\Http\Request  $request
     * @return \Illuminate\Http\Response
     */
    public function store(Request $request)
    {
        //
    }

    /**
     * Display the specified resource.
     *
     * @param  \App\Models\Customer  $customer
     * @return \Illuminate\Http\Response
     */
    public function show(Customer $customer)
    {
        //
    }

    /**
     * Show the form for editing the specified resource.
     *
     * @param  \App\Models\Customer  $customer
     * @return \Illuminate\Http\Response
     */
    public function edit(Customer $customer)
    {
        //
    }

    /**
     * Update the specified resource in storage.
     *
     * @param  \Illuminate\Http\Request  $request
     * @param  \App\Models\Customer  $customer
     * @return \Illuminate\Http\Response
     */
    public function update(Request $request, Customer $customer)
    {
        //
    }

    /**
     * Remove the specified resource from storage.
     *
     * @param  \App\Models\Customer  $customer
     * @return \Illuminate\Http\Response
     */
    public function destroy(Customer $customer)
    {
        //
    }
}
Trong phương thức create, chúng tôi đã sử dụng model Customer để chèn dữ liệu vào bảng Customer.
Bây giờ, bên trong thư mục app\Http\Controllers, tạo một tệp StaffController.php
<?php

namespace App\Http\Controllers;

use App\Models\Staff;
use Illuminate\Http\Request;

class StaffController extends Controller
{
    /**
     * Display a listing of the resource.
     *
     * @return \Illuminate\Http\Response
     */
    public function index()
    {
        //
    }

    /**
     * Show the form for creating a new resource.
     *
     * @return \Illuminate\Http\Response
     */
    public function create()
    {
        $staff = new Staff;

        $staff->staff_name = 'Staff 1';
        $staff->staff_email = 'staff1@example.com';
        if ($staff->save()) {
            return response()->json(['message' => 'Staff Added']);
        }
    }

    /**
     * Store a newly created resource in storage.
     *
     * @param  \Illuminate\Http\Request  $request
     * @return \Illuminate\Http\Response
     */
    public function store(Request $request)
    {
        //
    }

    /**
     * Display the specified resource.
     *
     * @param  \App\Models\Staff  $staff
     * @return \Illuminate\Http\Response
     */
    public function show(Staff $staff)
    {
        //
    }

    /**
     * Show the form for editing the specified resource.
     *
     * @param  \App\Models\Staff  $staff
     * @return \Illuminate\Http\Response
     */
    public function edit(Staff $staff)
    {
        //
    }

    /**
     * Update the specified resource in storage.
     *
     * @param  \Illuminate\Http\Request  $request
     * @param  \App\Models\Staff  $staff
     * @return \Illuminate\Http\Response
     */
    public function update(Request $request, Staff $staff)
    {
        //
    }

    /**
     * Remove the specified resource from storage.
     *
     * @param  \App\Models\Staff  $staff
     * @return \Illuminate\Http\Response
     */
    public function destroy(Staff $staff)
    {
        //
    }
}
Tương tự, trong phương thức create, chúng tôi đã sử dụng Model Staff để chèn dữ liệu vào bảng staff
Bước 5 – Tạo Resource Route trong Laravel
Trong thư mục routes, mở tệp web.php và thêm vào như bên dưới.
se App\Http\Controllers\CustomerController;
use App\Http\Controllers\StaffController;

Route::resource('customers', CustomerController::class);

Route::resource('staffs', StaffController::class);
Bây giờ bạn có thể sử dụng nhiều cơ sở dữ liệu trong bất kỳ ứng dụng Laravel nào của mình. Giờ đây, bạn cũng có thể tăng tốc và đơn giản hóa Ứng dụng Laravel của mình bằng cách sử dụng nhiều tuyến cơ sở dữ liệu và Resource Routes với Controller.
Bạn có thể xem thêm những bài viết khác về Laravel tại đây.